|
<< Click to Display Table of Contents >> Installation Steps |
  
|
|
<< Click to Display Table of Contents >> Installation Steps |
  
|
1. Run the installation file Yonghong Desktop.exe.

2. Double-click Yonghong Desktop.exe to select the language. The default is Chinese (Simplified).
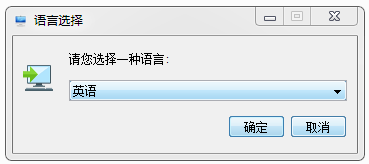
3. After selecting OK, enter the Yonghong Desktop Installer Wizard, the user can choose to upgrade the existing installation or install to a new directory.
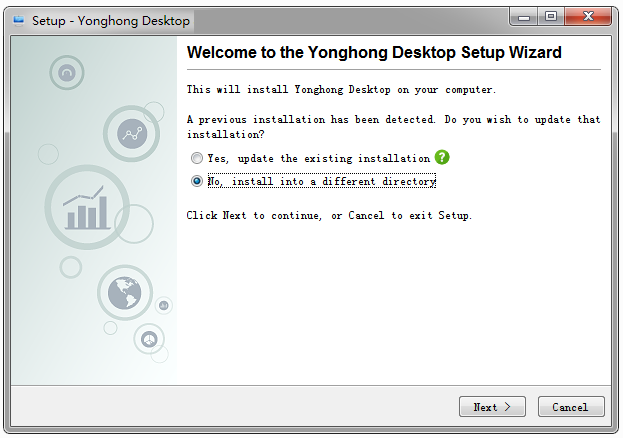
4. Click Next to view the license agreement.

5. Select [I accept the agreement] and click the Next button to set the installation directory. Click the browser button to change the installation path. The default path is C:\Yonghong Desktop.
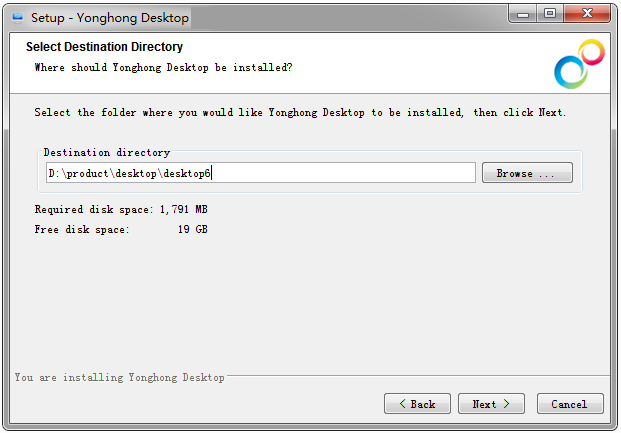
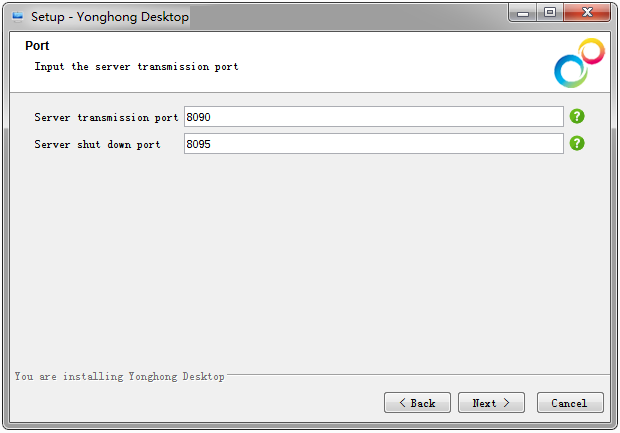
6. Click the Next button to set the port number. The default server startup port is: 8090, and the server stop port is: 8095. The user can modify the port number as required.
7. Click the Next button to set the system memory. The default system memory is related to the installation environment.

8. Click the Next button to configure the product's shortcuts in the Start menu. The user can choose where to launch the product's shortcuts in the Start menu and choose whether to add shortcuts to all users.

9. After configuring the product's shortcut in the Start menu, the user can choose whether to add a desktop shortcut.

10. After selecting the additional work, click Next and the product enters the installation.
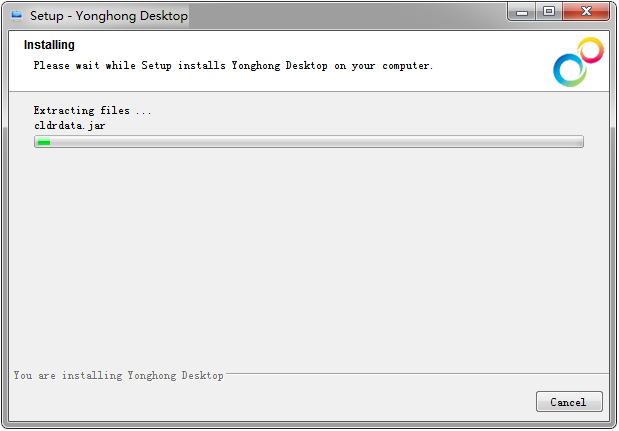
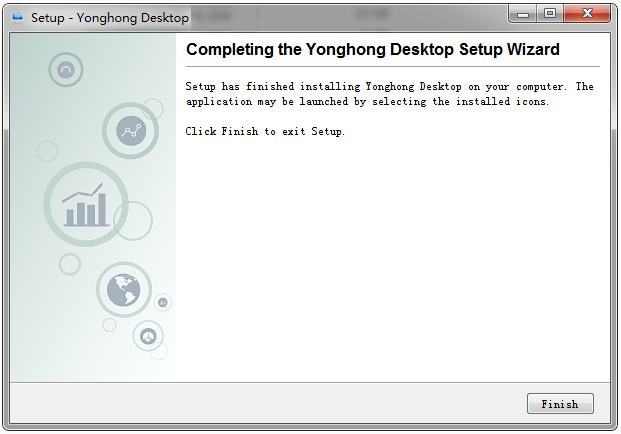
11. When the installation is complete, click the Finish button.
