|
<< Click to Display Table of Contents >> Export to CSV Task |
  
|
|
<< Click to Display Table of Contents >> Export to CSV Task |
|
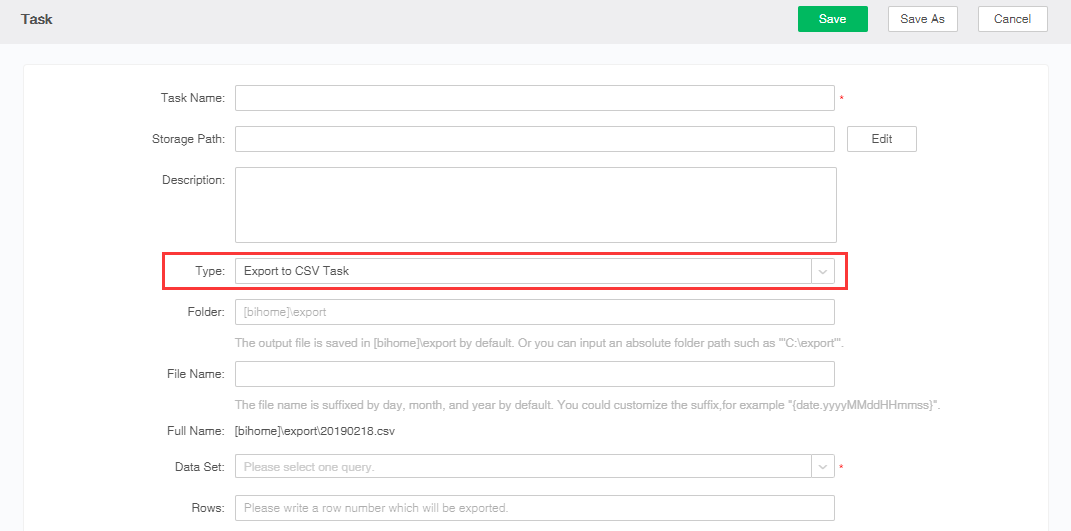
1.In the task area of the new job or the new task interface, select the task type "Export to CSV Task" as shown in the figure below.
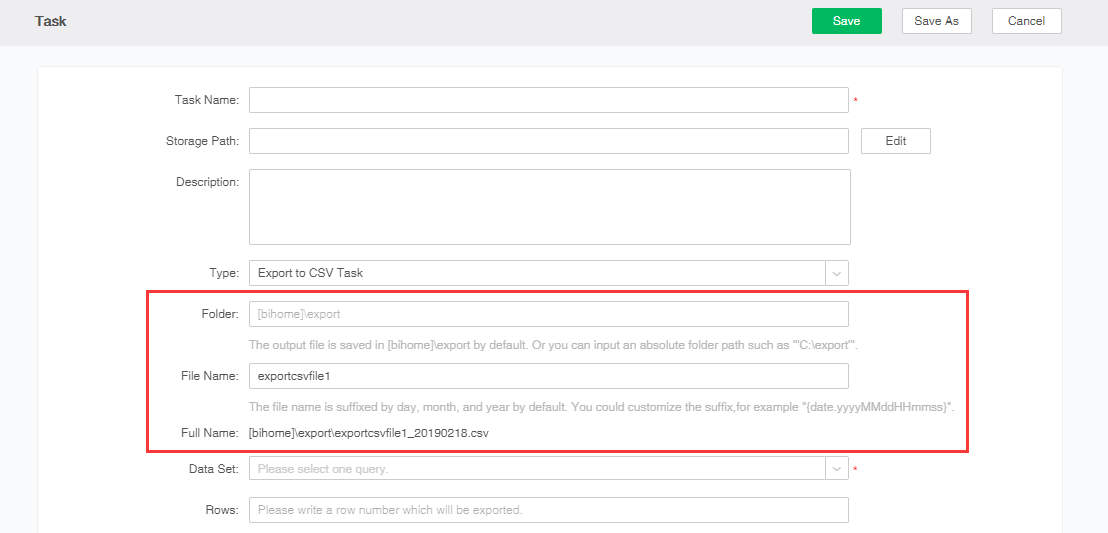
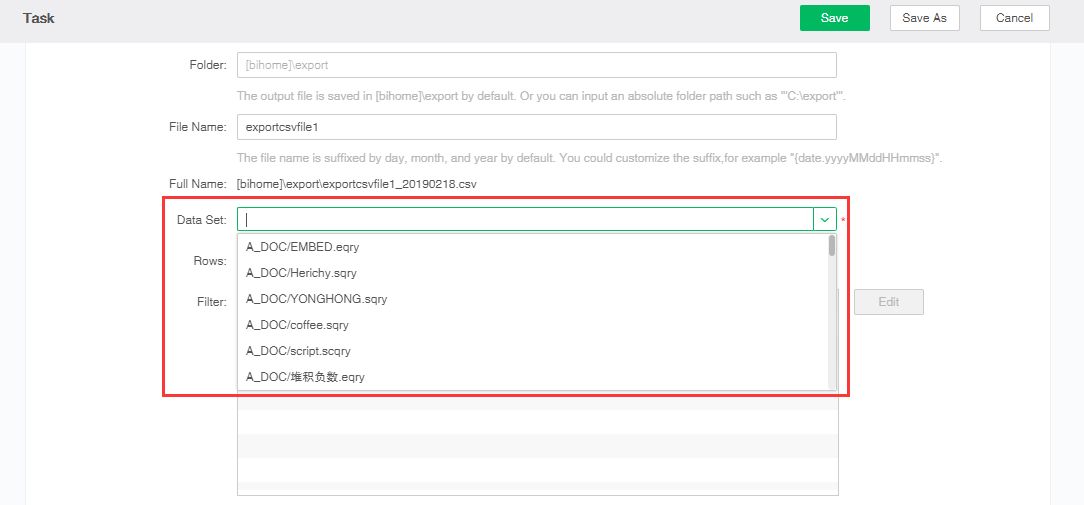
2.When the type is switched to export CSV files, the user can select the folder and file name, and at the same time, the full name of the exported file is displayed in order to make the export result more intuitive. Among them, the folder defaults to the [bihome]/export under the product installation directory, which supports absolute and relative paths; the file name can be entered or empty; the full-time suffix is yyyyMMdd by default, and can also be configured in bi.properties Property export.append.ts.format.
For example, if the folder is the default folder and the file name is the "exportcsvfile1", the format is csv, the "exportcsvfile 1_yyyyMMdd.csv file "is generated in [bihome]/export under the product installation directory (where yyyyMMdd refers to the current date ).
3.Select the data set to export in the existing data set.
4.Set the number of export rows of the data set.
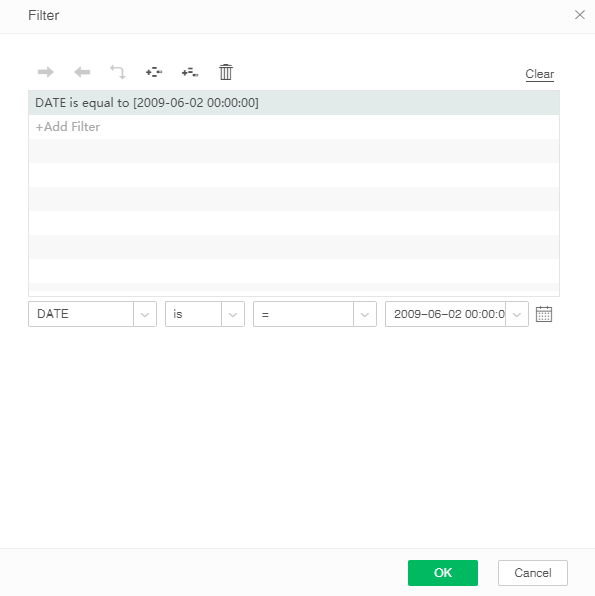
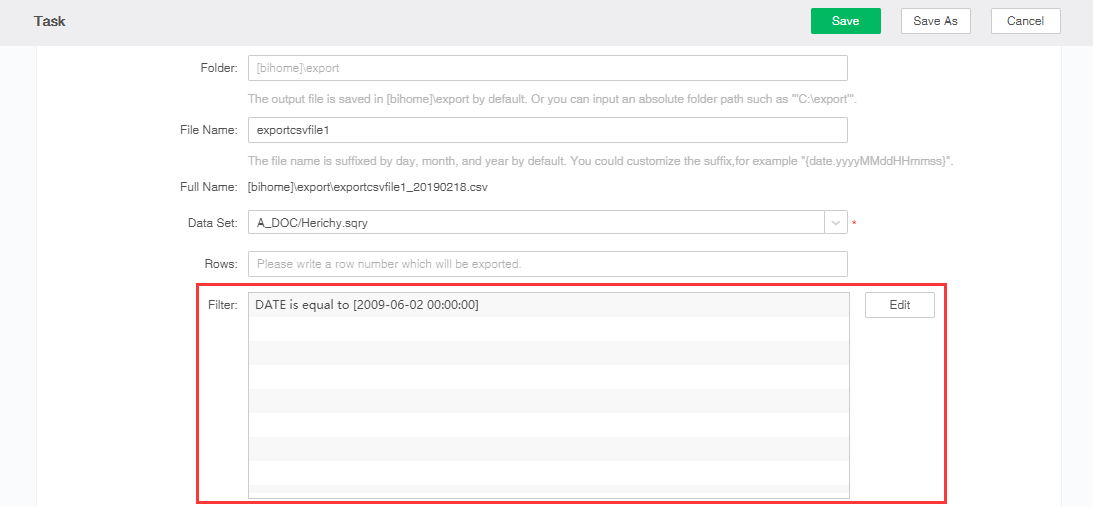
5.Click to add filter condition. Click "Edit" button to pop up the filter dialog box, click to increase the filter conditions, select the column you want to set the filter, as shown below. Data that meets the filter criteria is exported to a CSV file.