|
<< Click to Display Table of Contents >> Manage Connection |
  
|
|
<< Click to Display Table of Contents >> Manage Connection |
  
|
The data source supports multiple management operations. You can view all the management operations supported by the data source in this section:
•Moving Data Source Location
•Search
•Open Connection
•Create Data Set
•Rename
•New Folder
•Copy&Paste
•Delete
•Refresh Dataset
•New Table
•Delete Table
•New Dashboard
•Preview Data
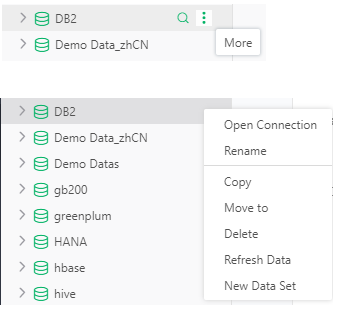
Users can create folder, rename data source and remove the data source, etc. Click the more icon in a folder to create a new folder; Click the more icon next to the search to create a new folder in the root directory
❖Moving Data Source Location
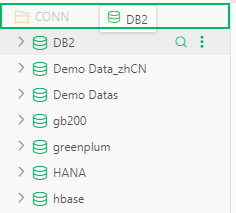
In the data source list, the system supports changing the data source position by dragging with mouse. The following figure shows how to drag data source "DB2" to the "Conn" folder.
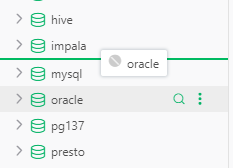
Configure attribute manual.sort.repository=true in bi.properties. On the data source list, you can change the sorting of data sources and folders by dragging them. The following figure shows how to drag data source "ORACLE" to the area between "IMPALA" and "MYSQL".
❖Search
There are two kinds of search.
oIn the search box, enter a keyword to filter out the data source or folder that contains the keywords.
oClick the search icon for a data source, enter a keyword in the search box, and search for a table or view in the data source that contains the keyword.

The following uses SQLServer as an example to describe how to search for a data source.
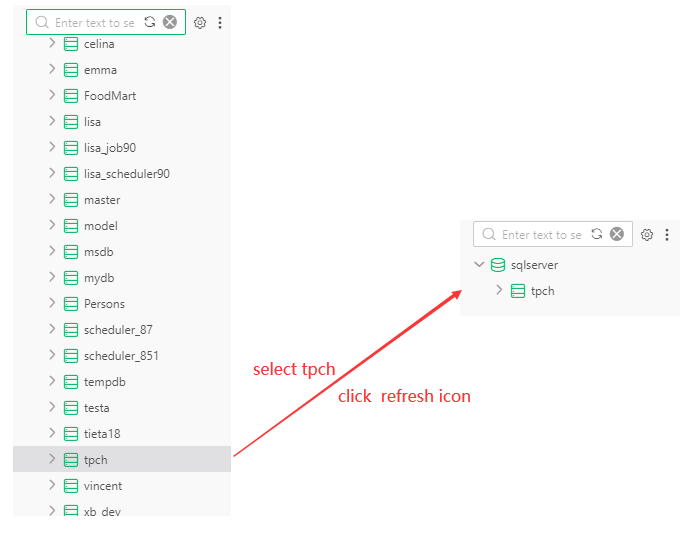
1. Click the search icon to expand data sources. Select the default database "tpch" and click the refresh icon, as shown in the following figure.
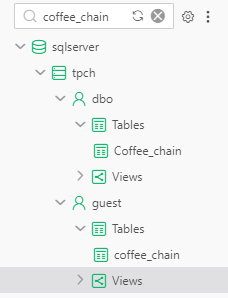
2. Enter "coffee_chain" in the search box. All tables or views that contain coffee_chain are found under "tpch" Expand the "tpch" node to show all the tables and views, as shown in the following figure.
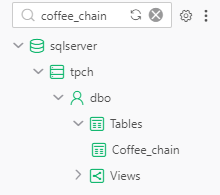
3. Select "dbo" and click refresh icon, as shown in the following figure.
4. Click the clear icon beside the refresh icon to return to the data source list. If the data source list was searched before the data source was searched, the list after the search will be returned.
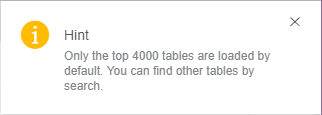
➢Note: When the table expanded on the data source tree is no longer loaded after more than 4000 tables, a hint will pop up, and the table name search needs to be performed manually.
❖Open Connection
On the data list, select a data source and click "More" icon to select "Open Connection" option. On the "Create Connection" page, open the selected data source.
❖Create Data Set
On the data source list, select a data source and click more icon, and then select "Create Connection" to open the "Create Data Set" page to create data set.
❖Rename
Rename the existing data source or folder. First of all, the user needs to select the data source or folder,and then choose the rename option by clicking the more icon.
❖New Folder
The user can choose new folder option by clicking the more icon at the data source list area to create a folder.
❖Copy&Paste
Copy the existing data source or folder. A duplicate name will be automatically added with "_copy" after the original name. When the user copies the folder, the data sources under this folder are also copied.
❖Delete
Data sources or folders not needed by the user can be removed. After the user removes the folder, the data sources in this folder will also be removed.
❖Move to
By moving to function, the data source is moved to the developed directory. To click on the "more" button on tree, choose to move to, as shown in the figure:
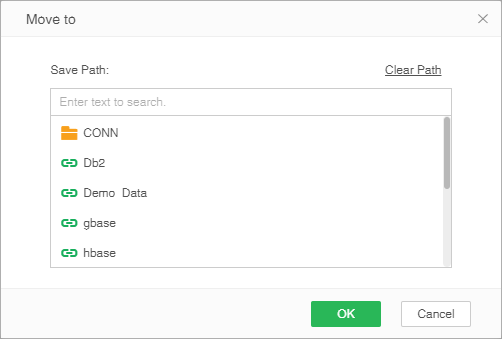
Open the move to dialog:
When you select a path and click the confirmation button, you can move the data source to the selected path.
[Empty path] empties the current selected path and moves to the root directory when the path is empty.
❖Refresh Dataset
Refresh the current data source list.
❖New Table
Select the table under the data source, and click "New Table" to create the table in the database.Currently, the databases that support new tables include Oracle, MySQL, DB2, SQLServer, PostgreSQL, Derby, and Gbase8a.
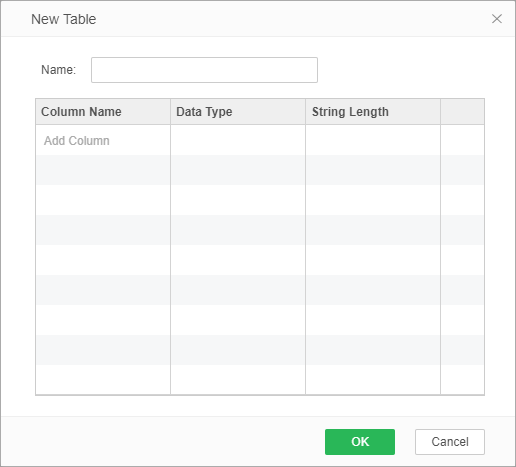
The name is the table name of the database, and the column name is the name of the column of the created table. The data type and string length of the column can be specified. The default string length is 16 bytes.
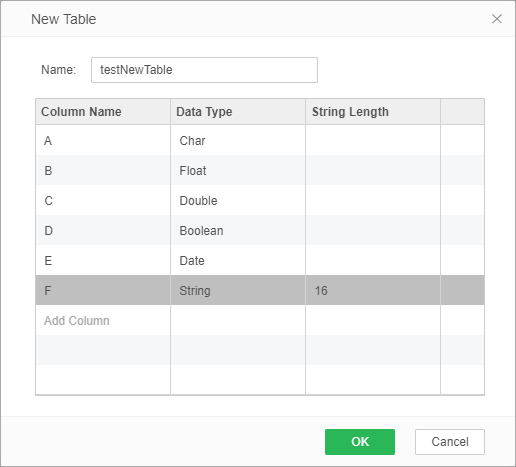
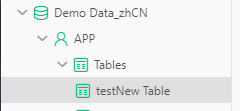
Click "OK" and the system prompts operation is successful. Therefore, a table is successfully created under the data source.
❖Delete Table
When the user has the permission to delete tables in the data source operation, select the unneeded tables in the list of the data source to delete. This operation will delete the tables in the database synchronously.
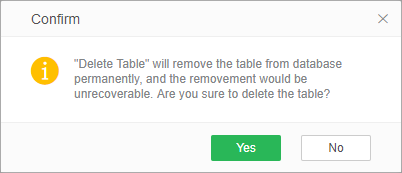
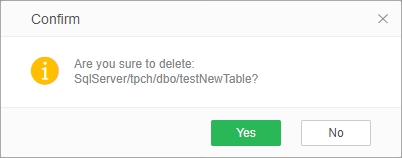
After second confirmation, you can delete the specified table in the data source.
❖New Dashboard
When the user has permission to "Create Connection" module, select the table and view under the data source, and click "Create Dashboard" to open a new page in the dashboard generation module. The bound resource tree displays the bound table or view.
❖Preview Data
When you fly over the cursor on a table or view under a database, "Preview Data" is displayed on the right of the column, as shown in the following figure.
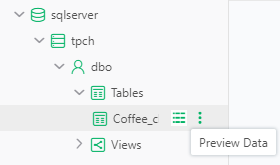
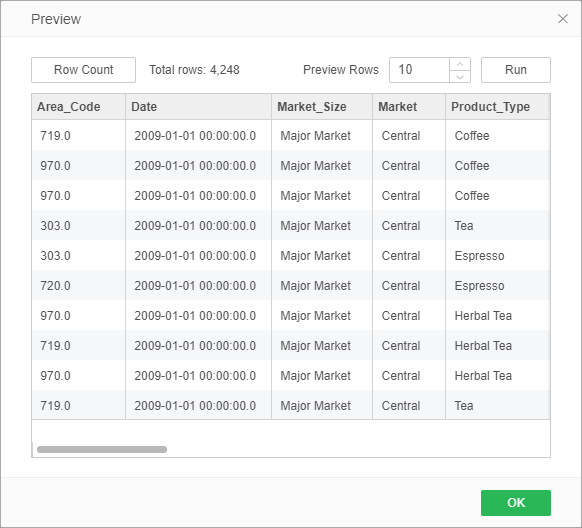
Click "Preview Data" to preview the selected table or view, as shown in the following figure.
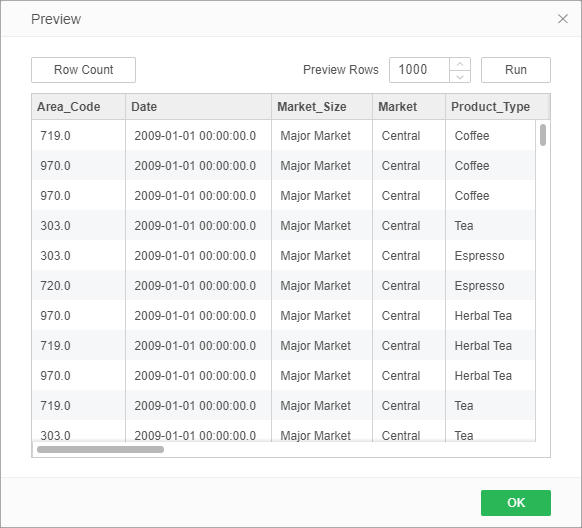
[Preview Rows] Number of rows displayed when previewing the table or view. 1000 lines are displayed by default, can modify the number of preview lines to [1,20000] as needed.The number of lines to be previewed can be modified. After modifying the number, click "Run" to validate the modification.
[Row Count] After click the button of "Row Count", total row number of previewed tables or views will be displayed behind the button. As shown in the figure below:
