|
<< Click to Display Table of Contents >> ACCESS Database |
  
|
|
<< Click to Display Table of Contents >> ACCESS Database |
  
|
1.Assume that you select the Access database. Open the data source (ODBC) in the "Control Panel" or "Administrative Tools" on your local PC, and then set the data source on the "Data Source Administrator." You can set data sources on "User DSN" and "System DSN."
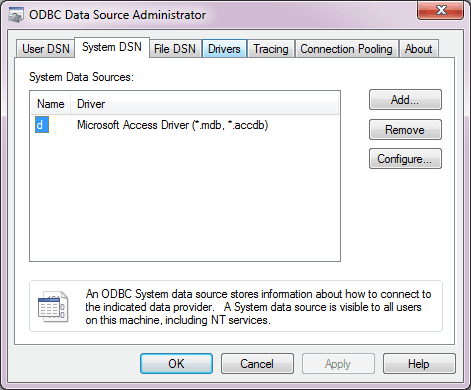
As shown below, the user creates a new data source by adding a button and selects a driver that matches the type of database. Suppose that the name of a database is test.mdb. Then you need to select Microsoft Access Driver(*.mdb) as the driver type.
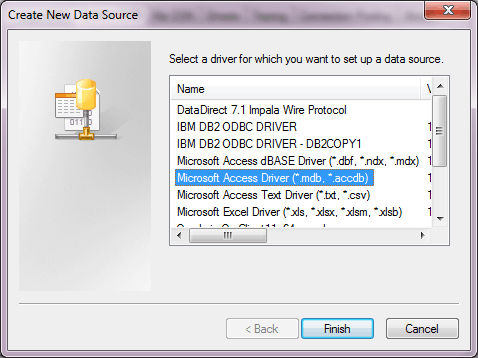
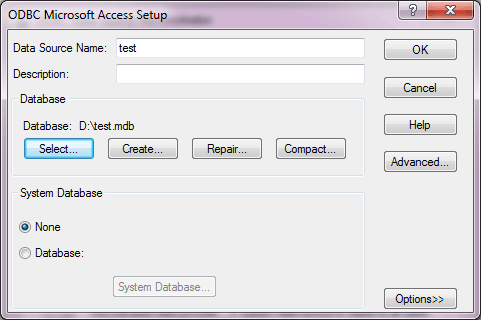
After selecting the driver, set the data source name and it's path.
2. On the "Create Connection" homepage, click "ACCESS" to open the creation dialog.
The creation dialog is as follows:
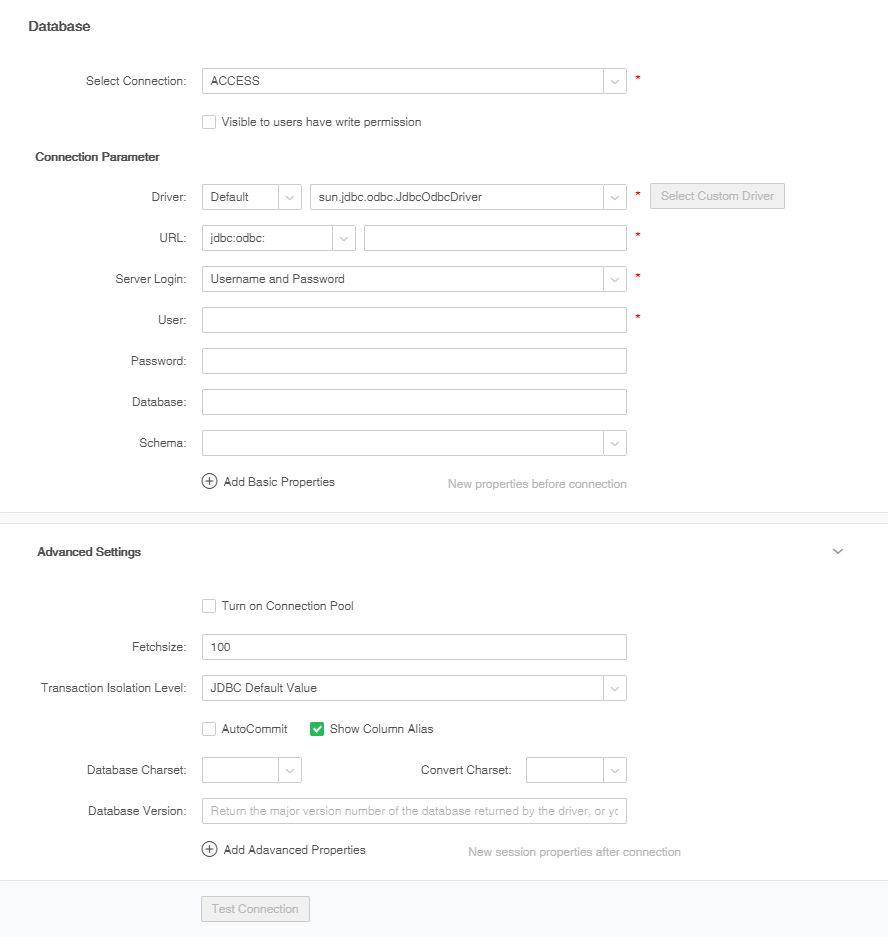
3. Fill in the corresponding ACCESS database connection information, at least fill in the required fields.
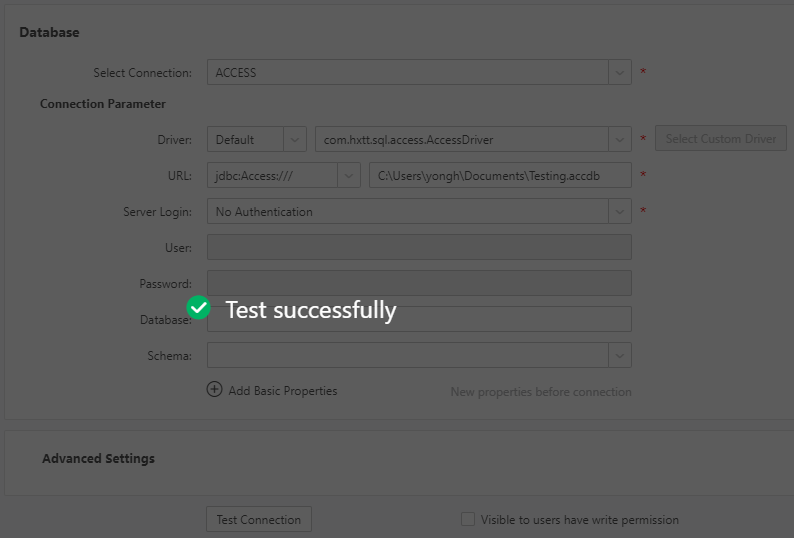
4. Click "Test Connection" button. A message is displayed, indicating that the test succeeds, which means that the data source has successfully connected to the appropriate database.
5. Click "Save" on the menu bar to save the data source. Both "Create Data Set" and "Create Dashboard" modules can use saved data source.