|
<< Click to Display Table of Contents >> Installation Steps |
  
|
|
<< Click to Display Table of Contents >> Installation Steps |
  
|
1.Run the installation file YonghongBI.exe.

2.After double click YonghongBI.exe, choose the language. The default is Chinese (Simplified).
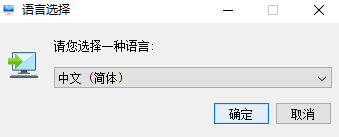
3.After selecting and determining, enter the Yonghong installer wizard, and users can choose to upgrade the existing installation or install it to the new directory.

4.Click the next step to view the license agreement.
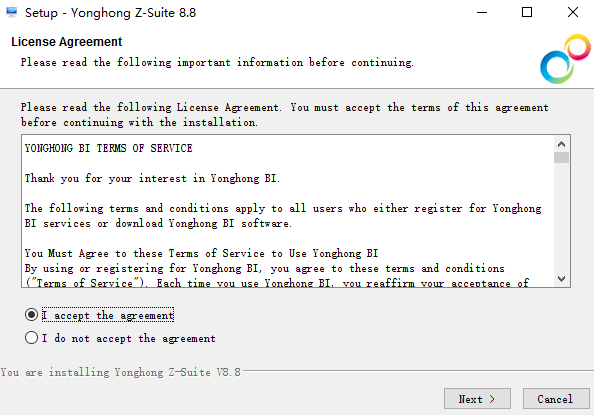
5.Select [I accept the agreement], click the next button to enter the required product key and the non-required license server connection address.

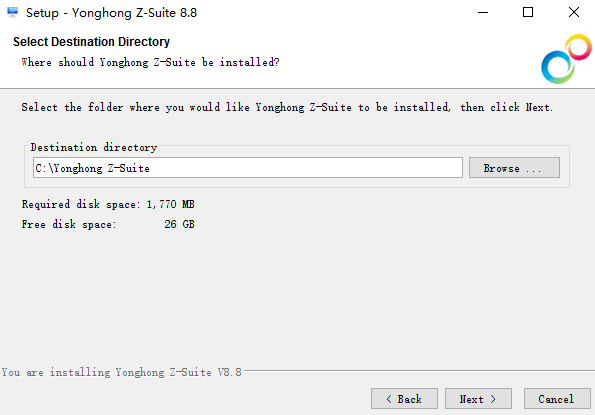
6.After entering the legal product key, click the next button to set up the installation directory. Click the Browse button to change the installation path, and the default path is C:\Yonghong Z-Suite.
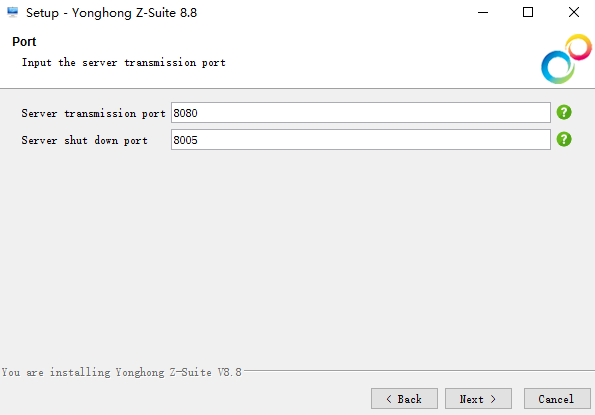
7.The user can reset the port number initiated by the server, with a default value of 8080. At the same time, users can reset the stop port number of the server, with a default value of 8005.
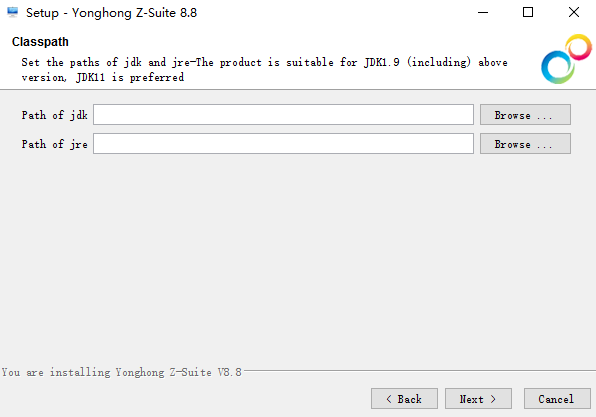
8.Sets the jdk path and the jre path required by the system. Tip: The product supports JDK1.9 (inclusive) and it is recommended to use JDK11
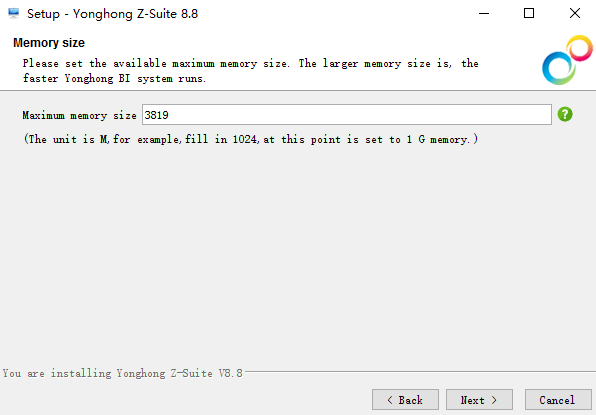
9.Double click YonghongBI. to set the system memory. The default value is related to the installation environment.
10.The user selects at least one installation type for installation.
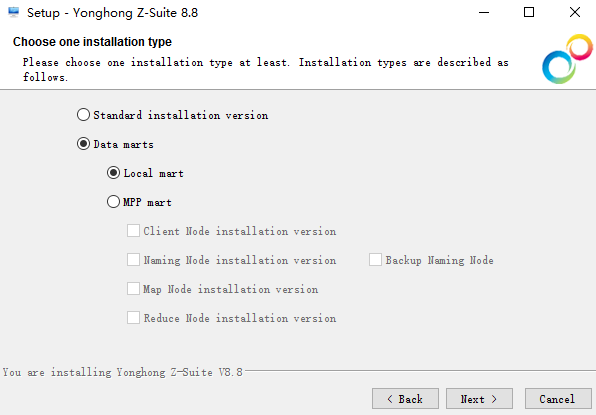
Installation type and cloud environment configuration
Standard installation edition Yonghong BI standard installation, the current host does not participate in cloud computing.
Data Mart The data mart is divided into local market (stand-alone data mart) and MPP market (multi machine data mart). If the amount of user data is at GB level, and the stand-alone server configuration is also available, the local market can be used to achieve data acceleration. If user data is on the TB level, the MPP cloud structure can be used to support second level data analysis and response speed. •Local mart Local mart are used to speed up data and speed up data reading. •MPP mart
oNaming node installation edition(Naming Node):Yonghong BI cloud naming node installation, that is, the current host as a named node to participate in cloud computing, Naming Node will collect host information involved in distributed cloud computing. Map Node and Reduce Node will send heartbeat reports to Naming Node, Naming Node, which Map Node is stored on a specific physical file. In order to prevent single point failure caused by Naming Node downtime, Yonghong BI uses Naming double live mechanism to install Naming Node backup nodes. After the Naming Node downtime, First Backup Node was elected as a new Naming Node, and all nodes Naming Node had been replaced and the configuration file was modified. When selecting backup nodes, you can not select client nodes, Map nodes or Reduce nodes. Note: Yonghong X-Suite, Y-Reporting, and Y-Vivid show do not have a dual-active mechanism for Naming nodes.
oReduce node installation edition (ReduceNode):Yonghong BI cloud simplification node installation, that is, the current host as a simplification node to participate in cloud computing, and the implementation of the node simplification task.
|
11.After setting up the cloud node information, click the next button to enter the Naming node double live setup interface.
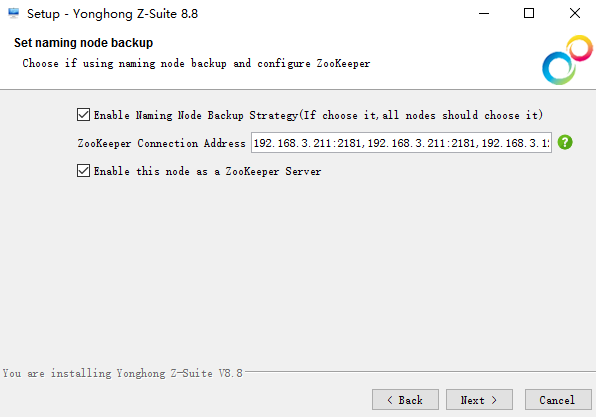
•Using the named node double live mechanism, after the checkout, you need to set up ZooKeeper for the leader election. When the Naming Node is down, you can use First Backup Node as the new Naming Node.
•ZooKeeper connection address: client to ZooKeeper cluster address, multiple addresses separated by commas. After selecting the naming node double live mechanism, this is a required item.
•ZooKeeper services are enabled on this node. If checked, ZooKeeper Server will also be installed in this node.
Using Naming node double active mechanism and configuring ZooKeeper connection address will attribute:dc.use.backup=true zk.conn.hosts=192.168.3.211:2181,192.168.3.211:2182,192.168.3.122:2181Load to the fileglobal_bi.properties.
12.Check [enable ZooKeeper services on this node] Click the next button to enter the Zookeeper information configuration interface. If ZooKeeper service is not enabled on this node, skip this step and go directly to 12.
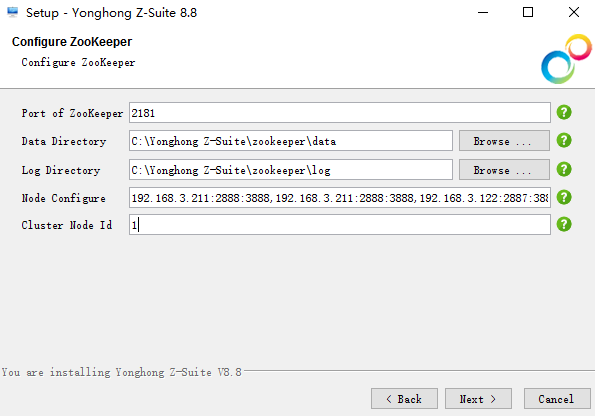
•ZooKeeper port: port number used to communicate with CNMR node.
•Data Directory: directory for storing snapshot file snapshot.
•Log directory: ZooKeeper log output directory.
•Cluster node configuration: used for communication between ZooKeeper clusters, usually odd.
•Cluster node number: Specifies that the ZooKeeper Server installed on this machine is the first node in the cluster node configuration.
The attribute configuration information of ZooKeeper will be loaded into the zookeeper\conf\zoo.cfg under the product installation directory, which contains the following properties:
server.3=192.168.3.122\:2888\:3888
server.2=192.168.3.211\:2887\:3887
server.1=192.168.3.211\:2888\:3888
initLimit=10
syncLimit=5
clientPort=2181
tickTime=2000
dataDir=C\:\\Yonghongn\\zookeeper\\data
dataLogDir=C\:\\Yonghongn\\zookeeper\\log
The cluster node number is written in zookeeper\data\myid.
13.After selecting the component, click the next button to configure the shortcut of the product in the start menu. Users can choose the location of the shortcut to start the product in the start menu, and choose whether to add this shortcut to all users.
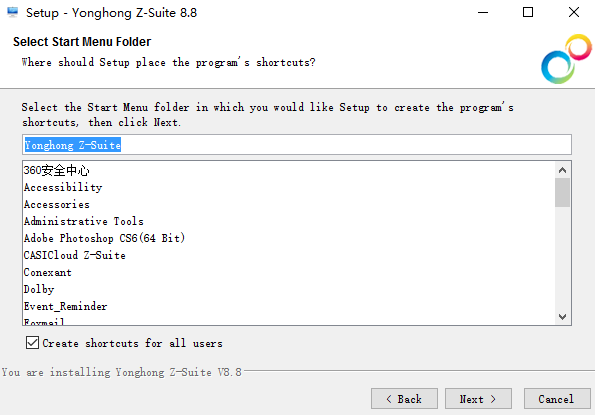
14.After configuring the shortcut of the product in the start menu, users can choose whether to add desktop shortcuts.
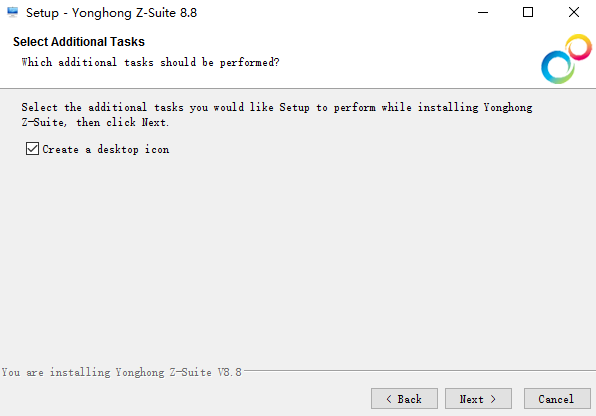
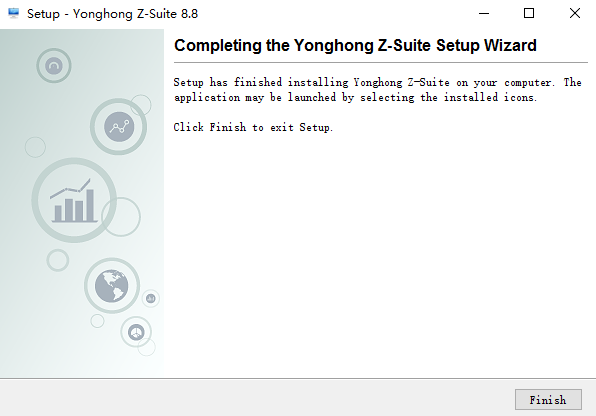
15.After selecting the additional work, click the next step, install the product on the current host, and click the completion button when installation is completed.
