|
<< Click to Display Table of Contents >> Development Process |
  
|
|
<< Click to Display Table of Contents >> Development Process |
  
|
❖Application Development Flowchart

❖Application Development Process
1.Install node.js:
See the tutorial for details: https://nodejs.org/en/download/
2. Installation items:
Create any new folder and run the command: npm install yh-plugin-project@latest
Version description: If you are developing based on 8.5.0.X version plug-in, please use yh-plugin-project version 1.0.6
3. Installation dependencies:
Run the command in the yh-plugin-project directory: npm install
Module description:
① yh-plugin-manager is a module that must be referenced, and cannot be deleted. You need to run the command:
npm install yh-plugin-manager@latest to install it to the latest version;
② If you develop a plug-in based on version 8.5.0.X, the version of yh-plugin-manager used is 0.0.4;
③ ECharts has been added by default, you can delete it manually if you don’t need it
4. Plug-in development:
For the API and examples used during development, please refer to the introduction of "Development API"
5.Build the application:
Configure the file name and result in the two files webpack.config.js and webpack.config.production.js. The exportsMap is an array of configuration application files, and developers only need to add them later when creating a new application. The build steps are as follows:
①Run command: npm run plugin-build will generate the required files in the result directory: the configured file name.js;
②Run command: npm plugin-build-p generates the results for publishing;
③The application market to upload files with the suffix of jar in the jar directory after build:
A. Register and log in to the application market http://plugins.yonghongtech.com/
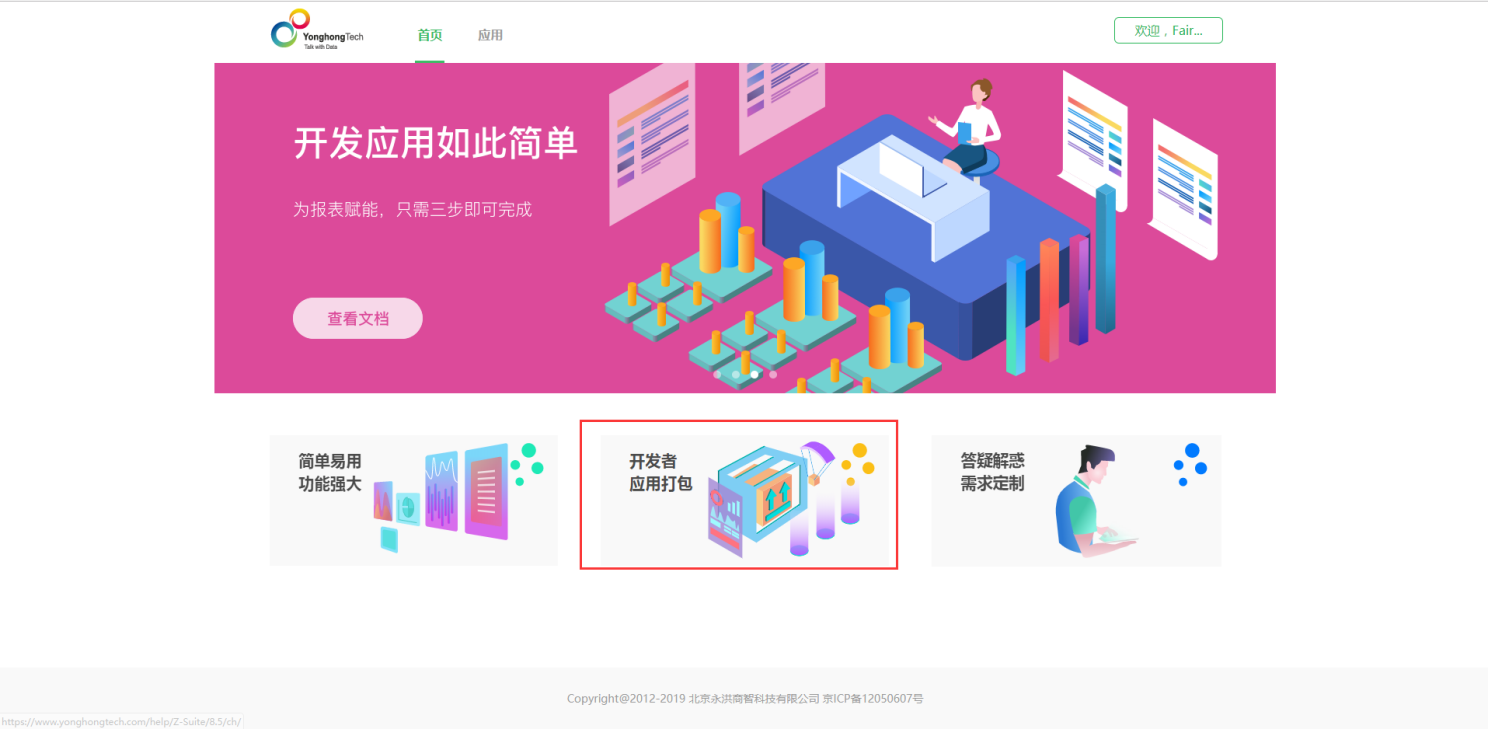
B. Click the developer application package.

Fill in the information as required, upload the jar package after the build, and the relevant personnel will package and send the application package via email after review.
Note: If you are an individual developer without a deployment ID, you can fill in 20190302003DEPT instead.
6. Install the app
Enter the product-management system-application management, click on local installation, select application installation.
7. Use application:
After the installation is successful, just refresh the editing report.
A. If it is a component application, you can see the newly added application displayed in the new component area without restarting tomcat.

The upper part is the chart, and the lower part is the element. Newly installed apps will be at the end of the list.
B. If it is an application of other types, it depends on the specific application function. Currently, it only supports background function applications, and does not support front-end function application development.