|
<< Click to Display Table of Contents >> Create Image |
  
|
|
<< Click to Display Table of Contents >> Create Image |
|
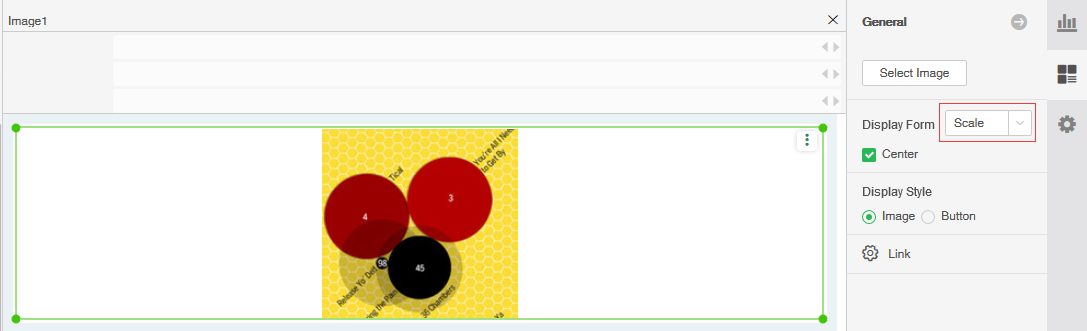
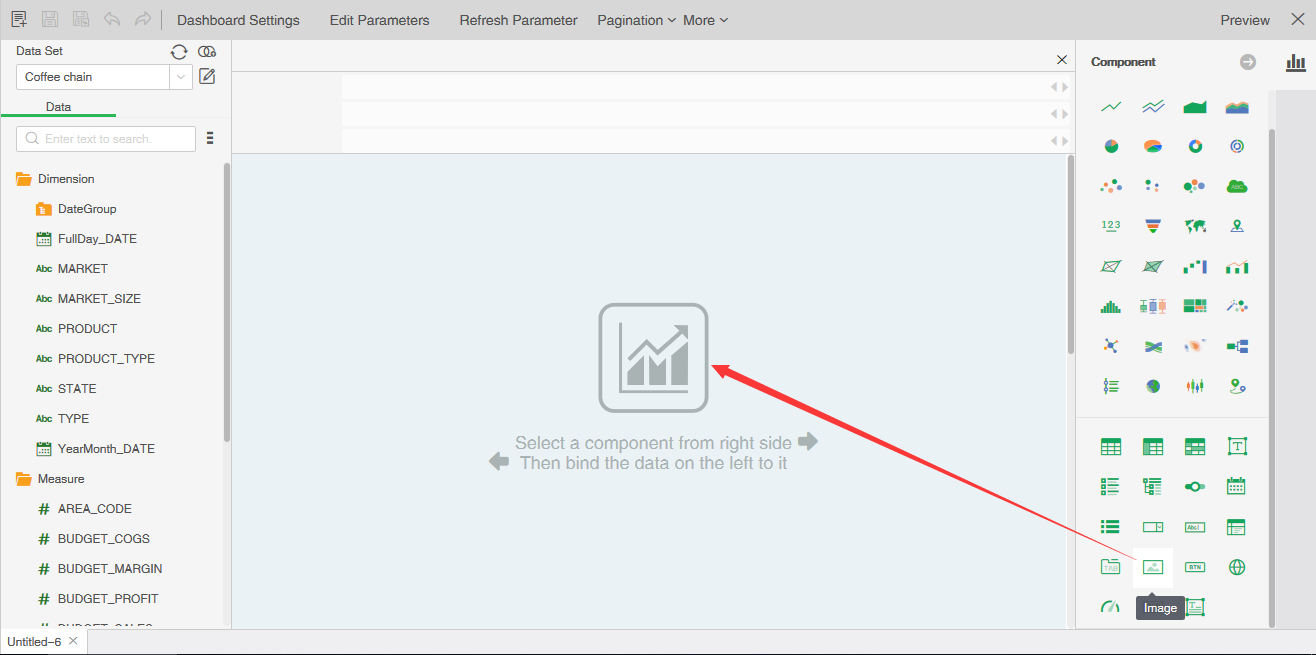
❖Create Image
1.Drag the image component to the dashboard edit area in the right panel.
2. Click the "General" tab in the right panel and select "Select Image" to open the image dialog box.
3. You can select the desired image in the image list, or you can import the local image into the system by using "Import image".
➢Note 1: The imported image will appear in the image list and be stored in the bihome\image directory. If you manually add a image in the bihome\image folder, you need to restart the product to display it in the picture list.
➢Note 2: In the image list, you can create a folder in the root directory by using the New button on the upper right side, and rename, delete, and copy the file by using the more buttons on the right side of the image. Buttons to rename, create a new folder, copy and delete operations, but also by dragging and dropping the folder where the resource is located.