|
<< Click to Display Table of Contents >> Add User |
  
|
|
<< Click to Display Table of Contents >> Add User |
|
Note: Only Z-Suite and Y-Vivid show support user priority. X-Suite and Y-Reporting do not have this feature.
Note: Authorize Users-user Management-User Info-Mobile No is the product advanced module, which needs to be purchased separately.
❖New User
Click the "New" button to enter the new user interface, as shown below:
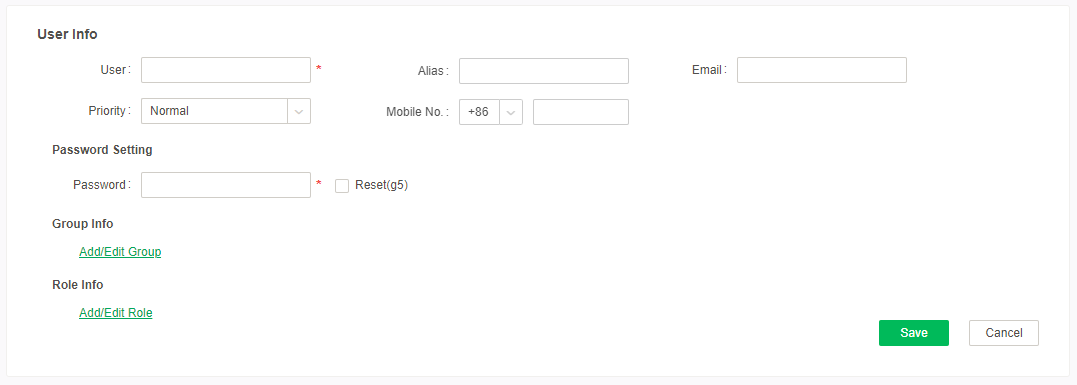
【User】The username is mandatory. It is the user's unique identifier. Different users cannot have the same username.
【Alias】Set a alias for the user.
【Email】Set a mailbox for the user. When you create a new email task in the schedule tasks, you can directly select the user who has configured the email to send emails. Default is required. Attribute: email.force.fill=true to control if required, the default value of the property is true, that is, the mail is a required item, and if the property is changed to false, the mail can be empty.
Examples:
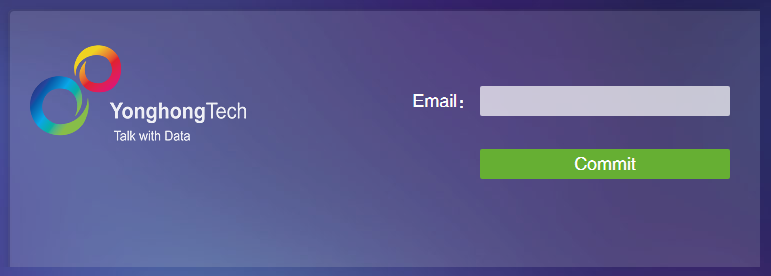
In the case of email.force.fill=true, if the user without mail login, enter the user name, password, click login, will jump to the mailbox input interface. As shown in the following figure:
After entering a valid mailbox, prompt "Mail sent, please log in mailbox authentication", log in just entered mailbox, you can view the received mail, as shown in the following figure:
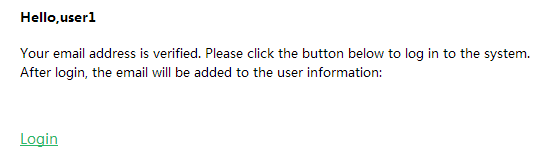
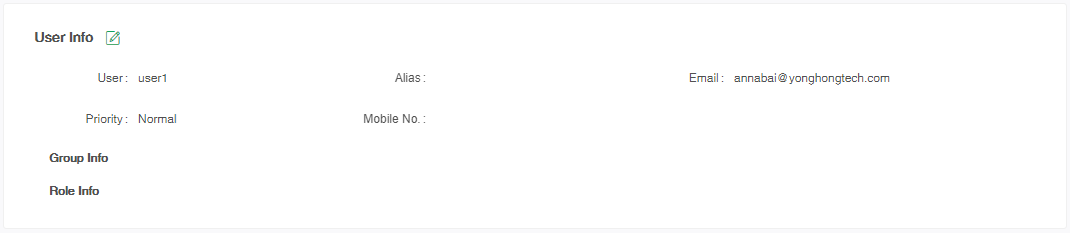
Click on "login", jump to the login interface, enter the user name and password again can login. The input mailbox is also written to the corresponding user information. As shown in the following figure:
【Priority】Set the priority for the user, which including five levels: lowest, lower, normal, higher and highest, and the default level is normal. If the user's role includes developer_role, the priority is automatically set to lower. When competing resource behavior occurs in the system, priority is given to assigning resources to high-priority users.
【Mobile phone number】Set the area code and mobile phone number for the user. The area code can be selected from the drop-down list.
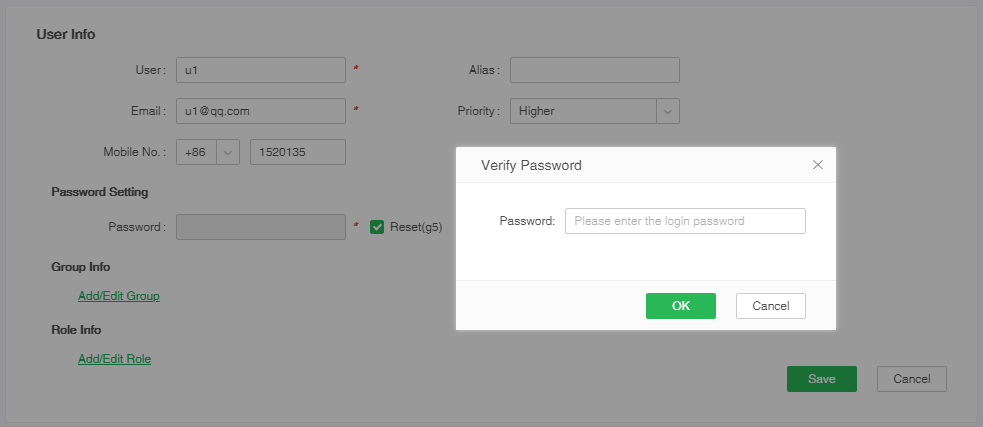
【Password Setting】The user can set a password or reset the password to g5. The password set by the user cannot be less than 8 and must contain both numbers, uppercase and lowercase letters. The password is not stored in plain text. Even if the user obtains the password file or data, anyone can not restore the original password. Only when you create or edit user information, the user information interface shows the password setting.
Whether to modify the user password to verify the administrator password is controlled by the attribute: password.security.check=false. The default value is false, that is: changing the user password does not verify the administrator's password. When the attribute: password.security.check=true, after modifying the user's password and clicking Save, a dialog will pop up. After entering the password of the currently logged in administrator user, the user's password can be modified, as shown in the following figure:
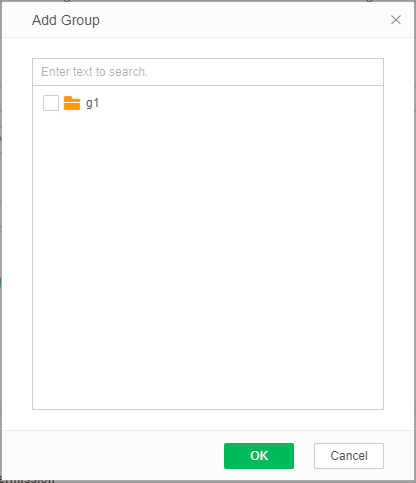
【Add/Edit Group】Click the "Add/Edit Group" button in the group information to enter the add group dialog and select the corresponding group to add it, the added group will be displayed in the group information. Users can add multiple groups, but the user can not under the root directory and groups at the same time. If the user does not add a group, the user is automatically placed in the root directory.
【Delete Group】After adding a group, the "Delete" icon will appear when the mouse is hovered over the group, and the user can click it to delete the added group.
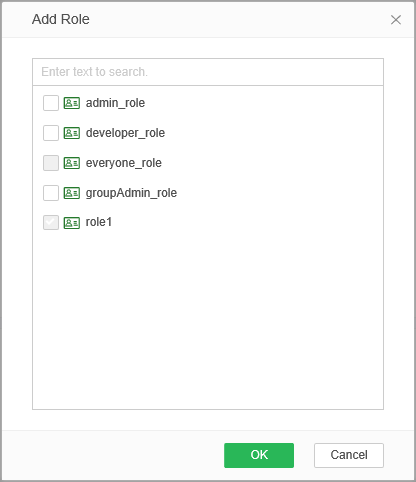
【Add/Edit Role】Click the "Add/Edit Role" button in the role information to enter the add role dialog and select the corresponding role to add it, the added role will be displayed in the role information. A user can add multiple roles or they can not set a role for the user. When the user inherits the roles of the parent group, the role information will show the role inherited from the parent group, but the role is grayed out and not editable.
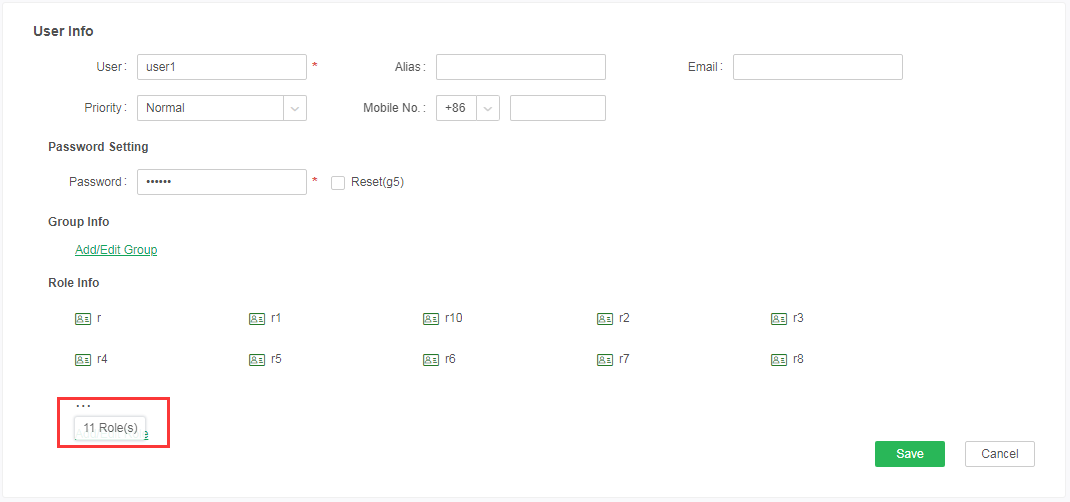
When the user has more than 10:00 roles, the role information displays only 10 roles, which can be viewed by clicking the "more" button, as shown in the following figure:
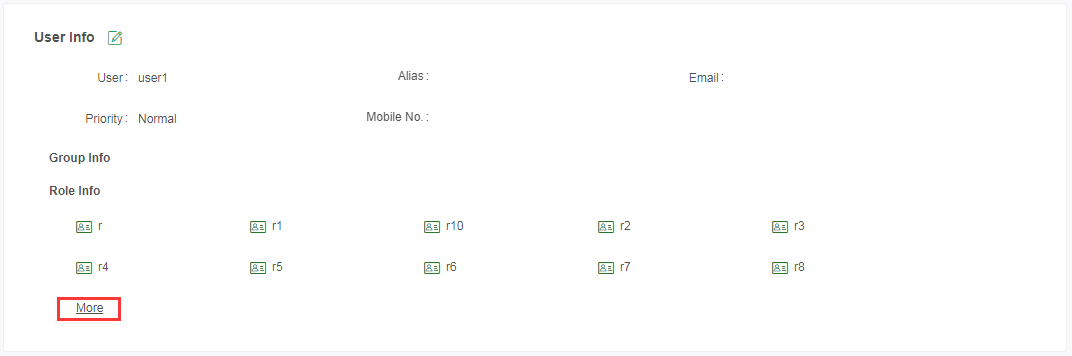
When editing user information, the more button appears as., when the mouse points. "to display" Total * roles ", as shown in the following figure:
【Delete Role】After adding a role, the "Delete" icon will appear when the mouse is hovered over the role, and the user can click it to delete the added role. Inherited roles cannot be deleted.
【Save】The saved user will show to the user management homepage, and the user's icon is ![]() .
.
【Cancel】Cancel new or edit user.
❖Editing user performance boost when a large number of users
When a large number of users in the system, for example, there are several thousand users under one group, it is relatively slow to expand the group, edit the grouped users, and save the edited contents. You can configure the attribute useGTreeGrid2=true and FSAuthenticationLimit=2000 (the value can be the sum of number of users and number of groups) in bi.properties to respond quickly and complete the editing operation.
If the data space configuration is a database system, you need to add attribute file.system.cache.all=true in bi.properties.