|
<< Click to Display Table of Contents >> Desktop Resource Upload |
  
|
|
<< Click to Display Table of Contents >> Desktop Resource Upload |
  
|
After successfully connecting to the server, when the connected user meets the permission conditions (see Server-side Permissions Configuration), you can upload the desktop version of the report to the server in the production report. The steps are as follows:
1. Enter the desktop version of the Create Dashboard, select the dashboard you want to upload, for example: dashboard / table, and click the "Upload" option in the "More" drop-down on the right;

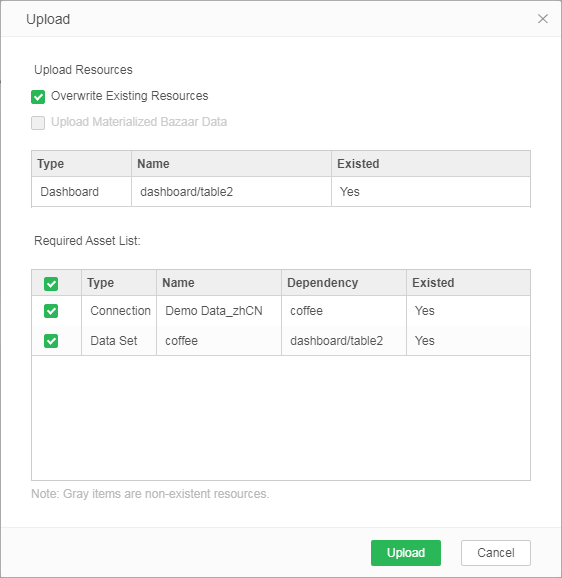
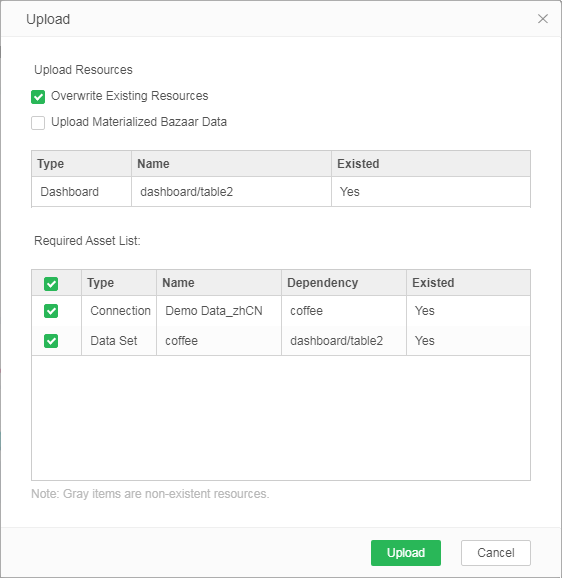
2. After clicking "Upload", the "Upload" dialog box will pop up, as shown below:

【Overwrite Existing Resources】 Checked by default, if there is a resource with the same name in the server, the original resource in the server will be overwritten after uploading. If unchecked, the corresponding resources in the server will not be overwritten.
【Upload Materialized Bazaar Data】 The default display is grayed out. When the uploaded resource contains a synchronized data set, the check box of this option is highlighted. Checking this option means that the uploaded data set is a synchronized data set, and the folders and files corresponding to the data set under the cloud folder will be uploaded. Uncheck this option to upload only the data set before synchronization.
➢Note: If the dependent data set is a data mart data set, the data mart data set and the folder and file corresponding to the data set under the cloud folder will be uploaded. You do not need to check "Upload Materialized Bazaar Data".

【Resource List】 List of uploaded reports, currently only supports single upload. This list lists the type, name, and whether the report already exists on the server to be uploaded.
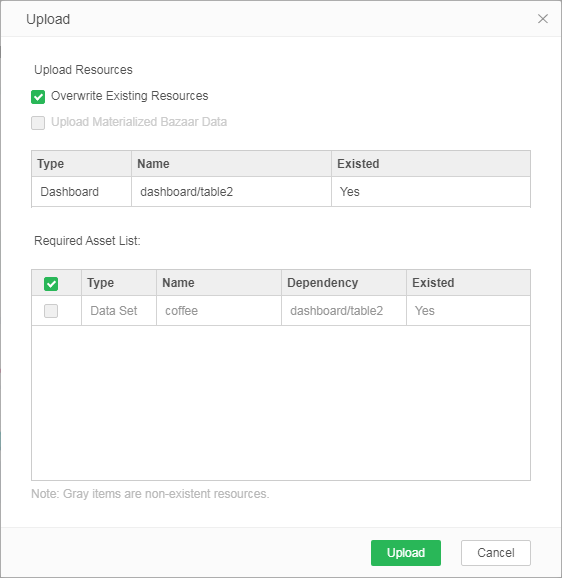
【Required Asset List】 List of Connection, data set, pictures, etc., on which the uploaded report depends. This list lists the type of dependent resource for uploading the report, the name-dependent report, and whether the resource already exists on the server to be uploaded. And you can decide whether to upload the dependent resource by checking the box in front of the list.
➢Note: When a dependent resource no longer exists in the desktop version, this row of data will be grayed out.

3. After confirming the information is correct, click the "Upload" button to upload to the server;
4. Enter the address of the server in the browser, log in with the corresponding user name and password, enter the production report or view the report, and you can see the uploaded report.