|
<< Click to Display Table of Contents >> Configure Navigation Pane |
  
|
|
<< Click to Display Table of Contents >> Configure Navigation Pane |
  
|
❖Configure the Contents of Navigation Pane
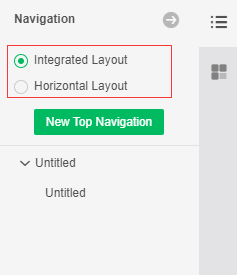
1.Switch Layout
Click the different layout buttons to switch to the corresponding layout, as shown in the figure:
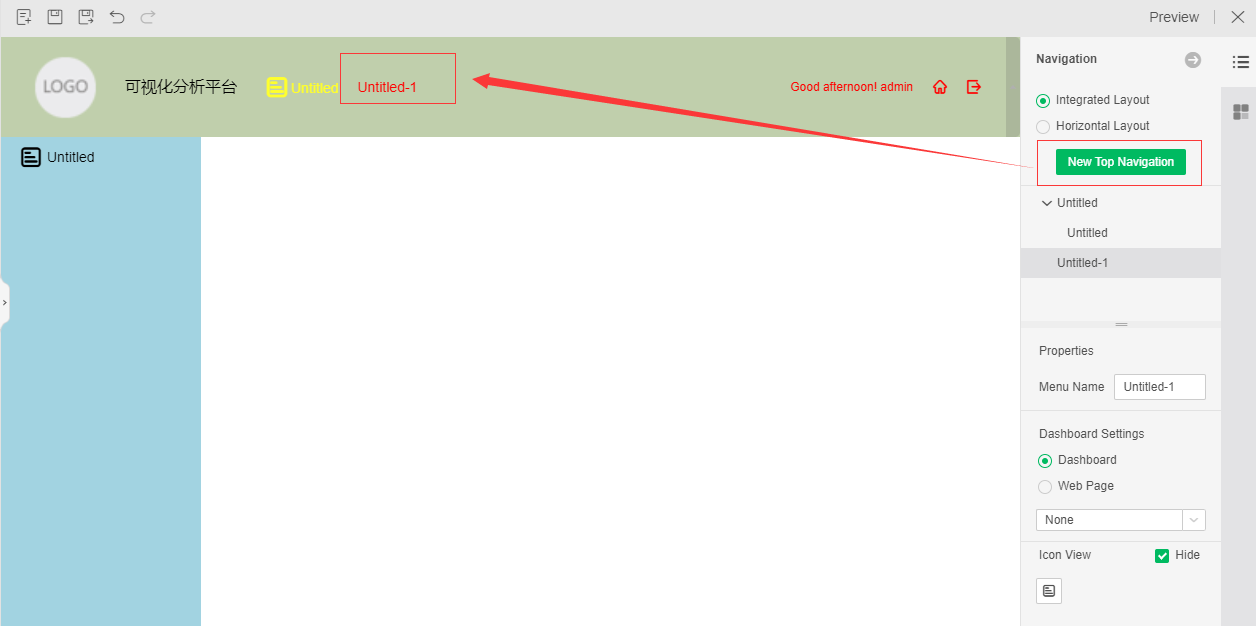
[New Top Navigation]
Click the button of New Top Navigation. The integrated layout will add a level of navigation to the navigation bar, and the horizontal layout will add a level of navigation to the left side bar.
2.Menu List
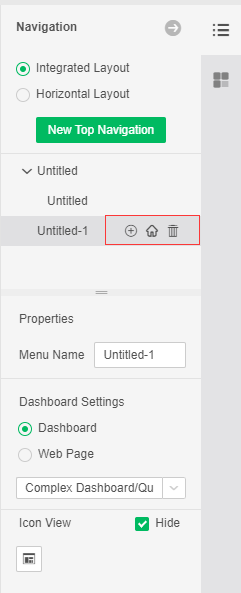
This area can be used to create a new submenu for the top navigation or its submenu, delete this level of menu, and set the bound resource as the home page. It also supports drag and drop to adjust the menu position as shown below:
3.Menu Name
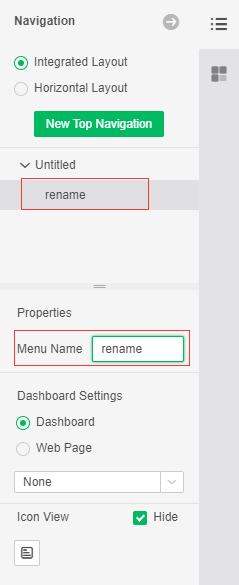
After selecting a level menu, you can change the corresponding menu name in the menu name edit text box, as shown in the figure:
4.Dashboard Settings
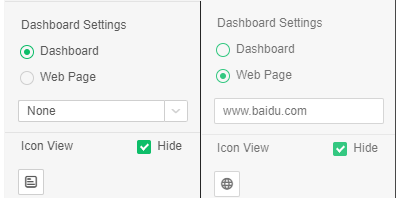
After selecting a certain level of menu, you can select the resource type (dashboard / web page) to which the node is bound. The binding of the dashboard, the complex dashboard, and the action module needs to be selected from the dashboard settings drop-down list. After the binding of the web page is switched to the web page, enter the url address in the url input box. If you do not want to bind any resources, you can select the "None" option in the drop-down list, or clear the url input box.As shown in the figure:
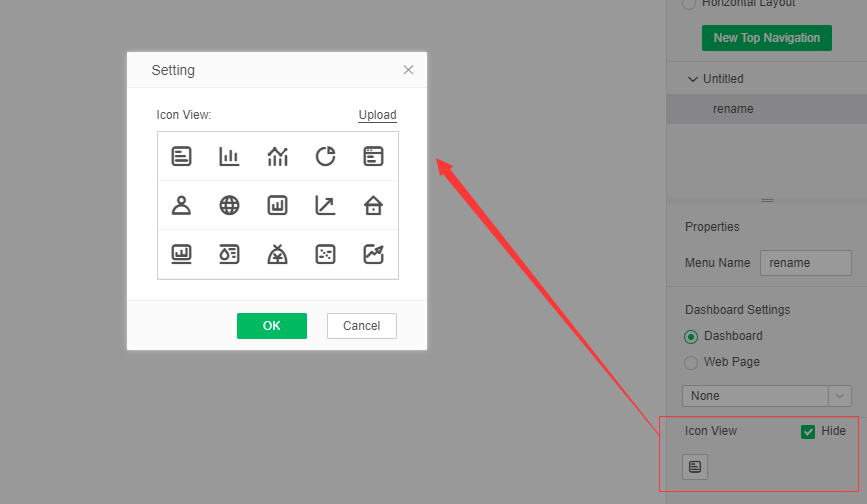
5.Icon View Settings
You can set whether the icon is hidden, and you can choose other icon styles in the dialog after clicking the icon button.
